Thursday, December 29, 2011

Top 10 Tutorials of 2011, Girl!

Pin It


Heyyyyy Pretty Ladies!

So it's almost NYE, huh?  Part of me wants to say BFD, it's totally overrated.  The other part of me says, HELL YEAH, let's add strings of sequins to everything I own and go!  The latter will likely win, cause well, the idea of missing out on something absolutely KILLS me.  It's a sickness really.  What about you?  Are you a hardcore or softcore NYE-er?

I guess this is the part I should talk about my resolutions or something, right?  Eh.  I don't really do that.  I just believe in trying to be a better person everyday, knowing that I will have setbacks and hopefully forgiving myself in a timely manner.  No easy feat for this girl, that's for sure.  BUT, as we all know, I do what I want.  ;-)

Per ush, I'm off topic.  SHOCKER.  What I really wanted to talk about here today were my top 10 tutorials of 2011, GIRL!  :)  So let's just do it already!  OK?  Ok. Here we go, in no particular "love order", more like newest to oldest.

1.  My Holiday Sunburst Mirror.  You all know by now about my little obsession with sunburst mirrors, right?  You don't?!? Halloween, anyoneGinormous mirror, anyone?


2.  My Cupcake Pincushions.  I LOVE all things cupcakes!  I don't love to eat them so much--just to stare at their beauty.  And collect things disguised as them.  Like these guys! You can purchase them here, if you're so inclined.  ;-)


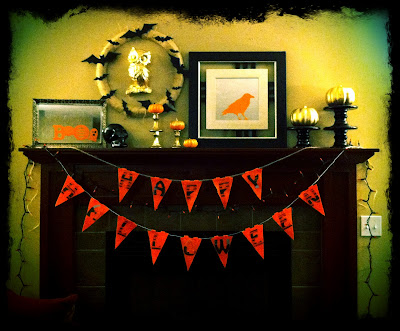
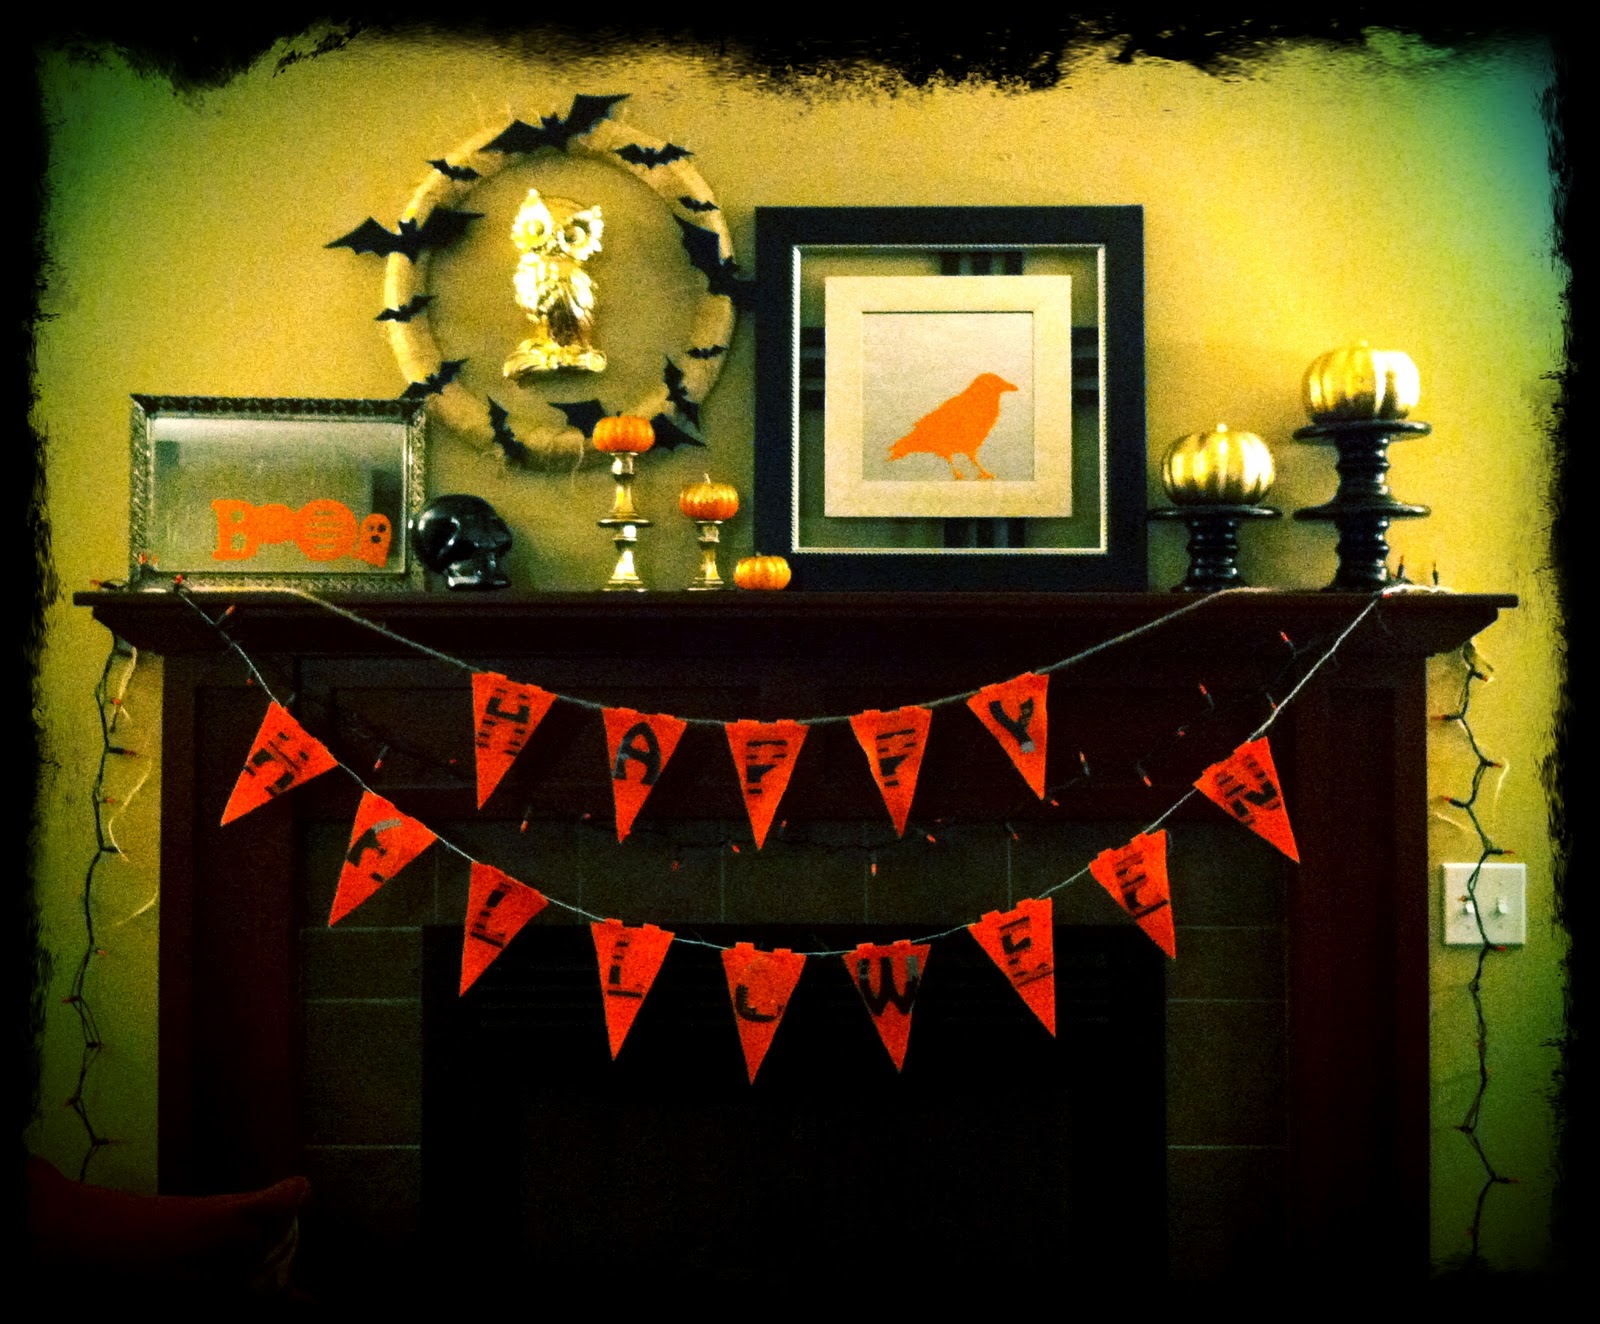
3.  My Halloween Mantel.  My first ever holiday-themed mantel and I was so proud of it!  :)


4.  This darling Couture travel wipes clutch that I made for my bestie's baby shower.  I just LOVE this!


5.  My infinity Scarf.  This also happens to be YOUR favorite tutorial post on B.Cheniful.


6.  The $5 Sunburst Mirror.  AKA, where my obsession began.  


7.  The Nautical Colorblock Necklace--on of my first blatant knockoffs ;-)


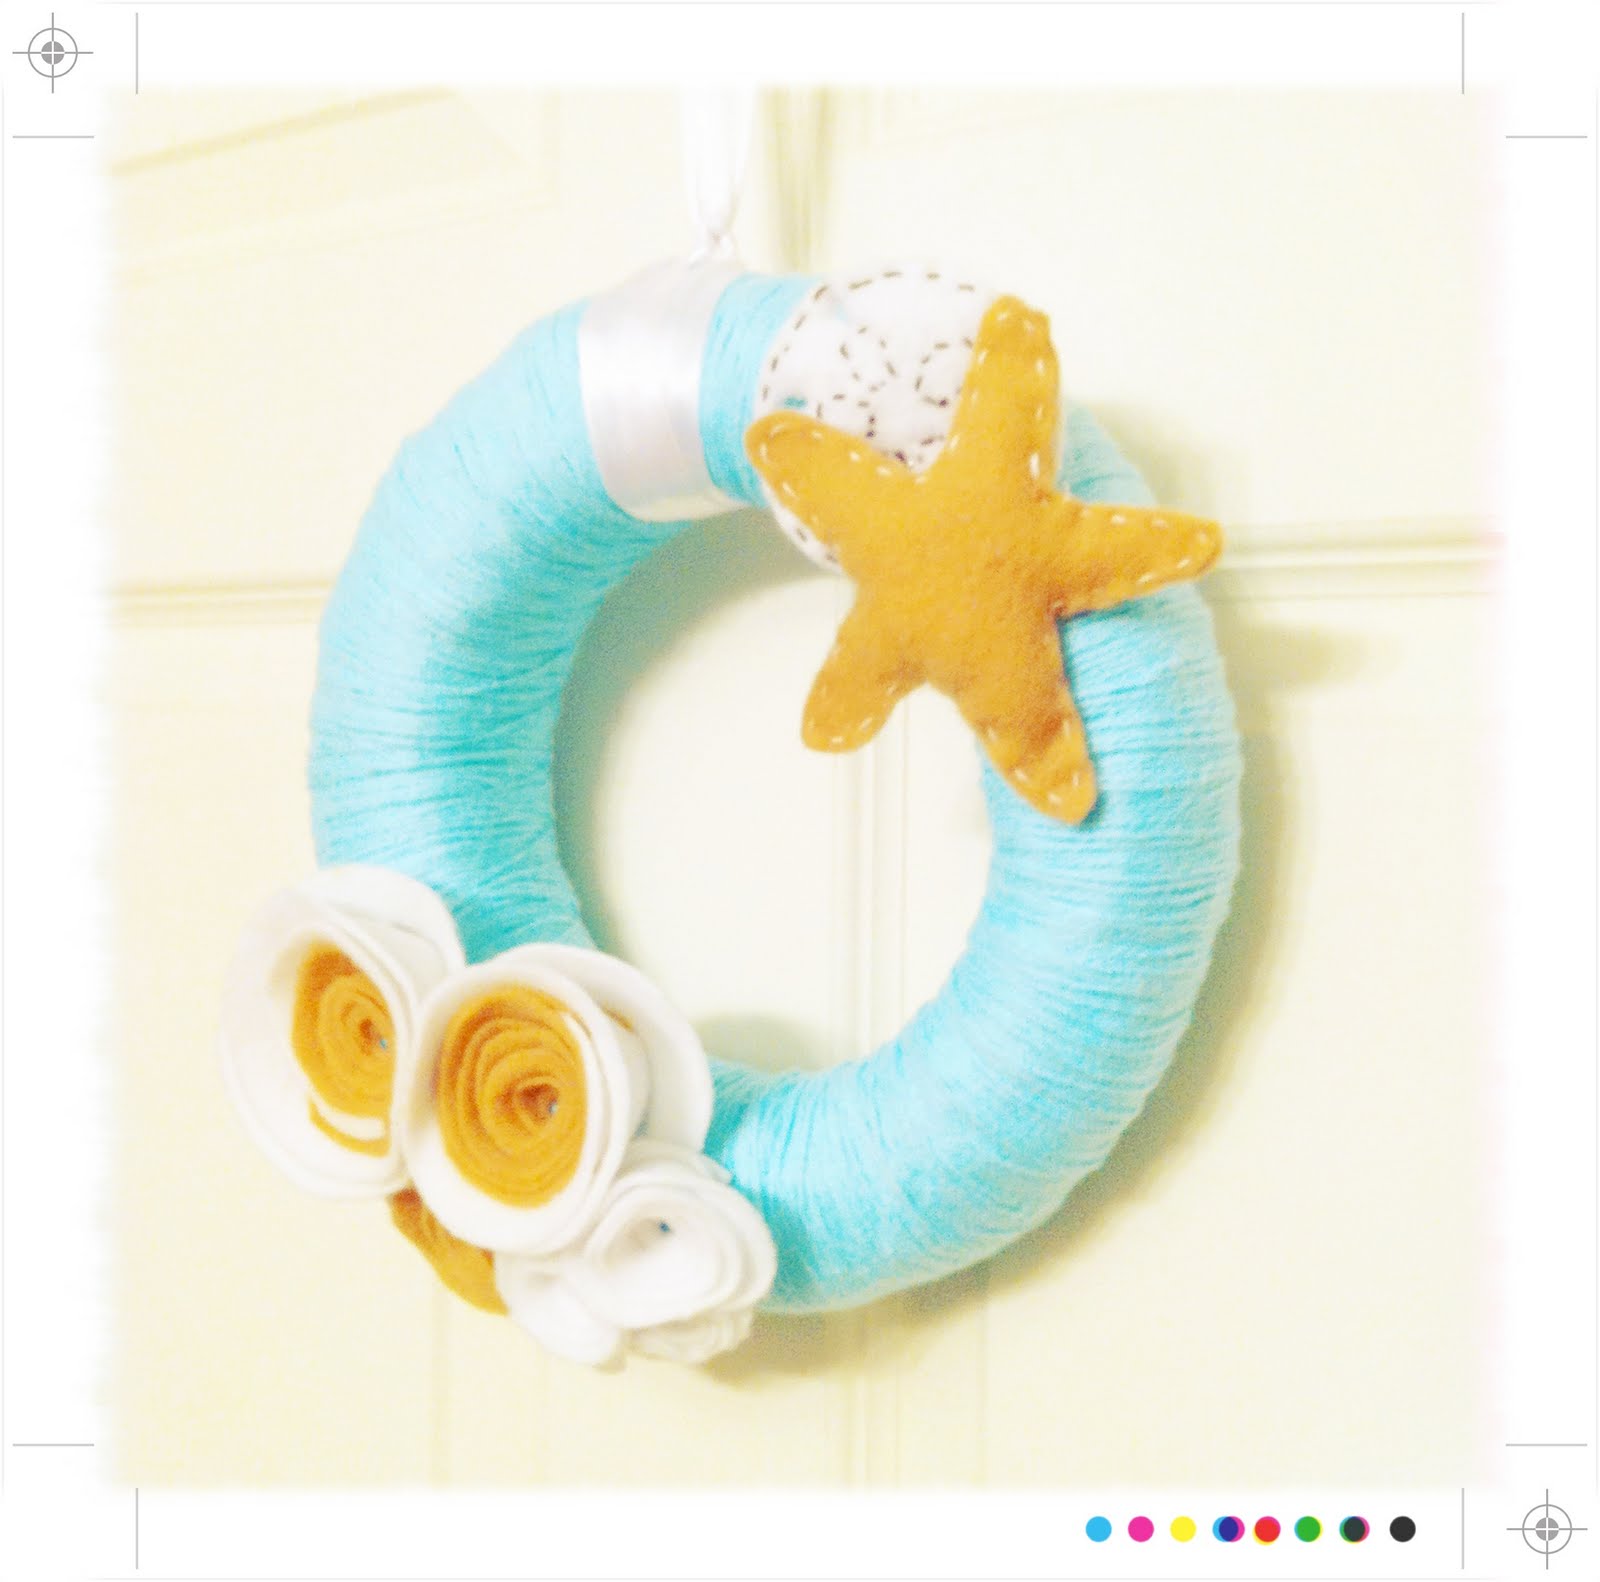
8.  My Seaside Wreath that I made custom for my girl Lila.  


9.  These sexy Up-Cycled Heels--where I took these not-so-sexy MAUVE pumps and turned them into something really special.  :)


10.  And lastly, my Ruffle Fabric Flowers.  This is the one craft that I use All. The. Time. I just love the way it can accent hairbands, wreaths, broaches, and even pincushions.  It's really the craft that keeps on giving :-)  Have you tried it yet???


Well there you have it gals, my Top 10 Tutorials of 2011.  I've had an awesome time this year showing you all my crazy shit creations and my seemingly never-ending ramblings. THANK YOU for reading.  If I don't see you again before 2012, have a fan-effing-tastic NYE!  

Big (Dude, it's 2012 already?) Smile,

Wednesday, December 28, 2011

How to: Mod Podge an Initial Letter

Pin It


Hi Friends!  :)

I hope you are all having very merry holidays this week and last.  :)  I am!  We had a great time on vacation in Cozumel from the 16th to the 23rd and then spent time with the fam(s) on the 24th and 25th.  I was lucky enough to have Monday off as well and spent the day laying around with Bacon and Cheesy.  We missed those babies SO HARD!  No really. Like talked about them ALL THE TIME--on the beach, at dinner, at breakfast, during nap time--and even would pull up photos because we have no life missed them so much.  Chenyways, we had a blast but we're happy to be home. The End.

Ok, back to B.Cheniful.  So last night J Chen was stalking me asked me where a new post on the blog was.  I mean, damn boy, we just got home!  Was he not aware of the entire paragraph of life I just wrote above?  Yo, I've been BUSY!  But....he was right, it was time to get my butt in gear and do something!

Ingredient List.
I feel like this may be coming a little late in the season--when I did this project it was for the holidays--but it can be applied to pretty much anything.  I mean, this initial I'll be showing you turned into an ornament, but could just as easily be used as decor, or even on a wreath.

Alright, enough rambling, let's just get started!

This tutorial has A LOT of photos.  I think that's ok, yes?  We'll just call it a "picture tutorial".  There, done.

Ingredient list
Initial Letter of your choice--mine was a cardboard type, but it could be wood or foam, etc.
Mod Podge
Foam Brush
Paper to cover--I used wrapping paper, scrapbook paper is great too!
Scissors/Exacto Knife
Ribbon or Twine--Optional

Step One:  Start with your paper about twice the size as your initial.
 Step Two:  Turn your initial over so it's backwards.  Apply Mod Podge to side and top as shown, and bottom (not shown):
Step Three:  Place initial on paper giving you enough space to wrap the paper on the side and over the top, as shown:
Step Four:  Firmly press paper to Mod Podge sides and smooth out any bubbles, as shown:
Step Five:  This is where is starts to get tricky......and messy.......and well, crafty. ;-) Cut into the corner of the paper, as shown:
Step Six:  Now, cut out a little piece of paper and fold in half to make a corner, as shown:
Step Seven:  Mod Podge corner and apply paper, as shown:
Step Eight:  Mod Podge the inside of the bottom initial and fold up the side of the paper.  Flip Over the initial and Mod Podge the top, as shown:
Step Nine:   Press paper firmly to the top, smoothing out any bubbles.  Flip initial back over and begin folding up the paper to cover sides, as shown:
Step Ten:  At this point there's nothing left to do but wing it!  I had to add little pieces of the paper to fill gaps--but that's why you do it on the back side!  No one will ever know ;-)  A tip:  If you're having trouble with the ends, just wrap them like a present :)
Step Eleven:  Once your initial is totally covered in paper, go ahead and place a layer of Mod Podge all over it, as shown:
Step Twelve:  Now let that baby set until it's dry to the touch--then go ahead and add another layer if you want.  Up to you girl!

Step Thirteen:  Place your ribbon or twine (if you're using as an ornament or wreath-whatnot) around the initial to hang and.....ROCK IT GIRL!  MMMMM HMMMMM.  
Keep going......Keep rockin!
That's it!  Ok, so it's not the easiest project in the world--not by a LONG SHOT--but it's a project that allows you to eff up and keep moving on.  And those my friends, are my favorite :)

Big (Dang Picture Tutorial!) Smile,

PS--in case you were wondering why I did an "F" as opposed to a "C" (you totally were, weren't you?!?!) it's because I did this for work. The "F" is a tribute to the founder of our company who passed on Black Friday, at 91. Kinda fitting since we're a retailer. He will be missed.

Thursday, December 15, 2011

Feliz Navidad!

Oh hey pretties! I really wanted to get another blog post in before we left for Cozumel to celebrate our 4 year wedding anniversary, HOWEVER, seems how we leave tomorrow, that's not happening. But then again, you never know....I might be able to whip something up at the airport!

If I can't get to it though I just wanted to say have a very merry Christmas :-)

And thanks for reading! And commenting! And being awesome!

So, that being said.....Be Merry! Be Bright!

Big ( A very merry CHENmas) Smile,
B.Chen

Thursday, December 1, 2011

How to: Make a Fabric Scrap Holiday Tree

Pin It

Hi Dolls!

I hope you're all having a fan-tabulous Thursday!  :)  So I thought I'd show you a little something I made last week, which btdub, I was sure J Chen would hate but made anyway.  Cause I'm sweet like that!  ;-)

Now, I would agree that this isn't my "usual style".  It's a little more shabby chic/country than my typical contemporary creations.  BUT, I do what I want.  So there you go.

Oh, did I mention this is the easiest creation ever? :-)  

So I bought these floral tower thingies back in October for my craft shows (to hang my hairbands on).  Well, as the season progressed, I found better ways to display them and no longer had a need for these dudes but I couldn't just have them sitting around....J Chen gets a little fussy about that.... ;-)


Chenyways, less talk.  More tutorial Action.

So, ingredient list then?  
Weird Iron Floral Towers--I got mine at Hobbit Lobbit over by all the millions of artificial flowers.
Christmas Lights
Scrap Fabric, cut or ripped to approx. 7"x2" inch strips

Step One:  Wrap your lights around the tower.
Step Two:  Tie your scraps on the tower.


Step Three:  Plug that sucker in and ROCK IT GIRL!
We keep one the kitchen counter....
and one on the cool desk that we use
purely for decor :)

Oh, and guess what?  J Chen actually liked them!  Well, when they're lit anyway.  :)

 Big (wasn't that soooo easy?!?) Smile,